> For the complete documentation index, see [llms.txt](https://docs.datajet-app.com/llms.txt). Markdown versions of documentation pages are available by appending `.md` to page URLs; this page is available as [Markdown](https://docs.datajet-app.com/integrations/shopify-flow/v1.md).
# V1
{% hint style="info" %}
Below documentation describes first version of DataJet / Shopify Flow Integration. As of 1st October 2024 V1 is deprecated. There is no need to migrate to [V2](/integrations/shopify-flow/v2.md).
{% endhint %}
DataJet is able to interact with flow either by sending data or receiving it from [Shopify Flow](https://help.shopify.com/en/manual/shopify-flow).
### Sending data to flow
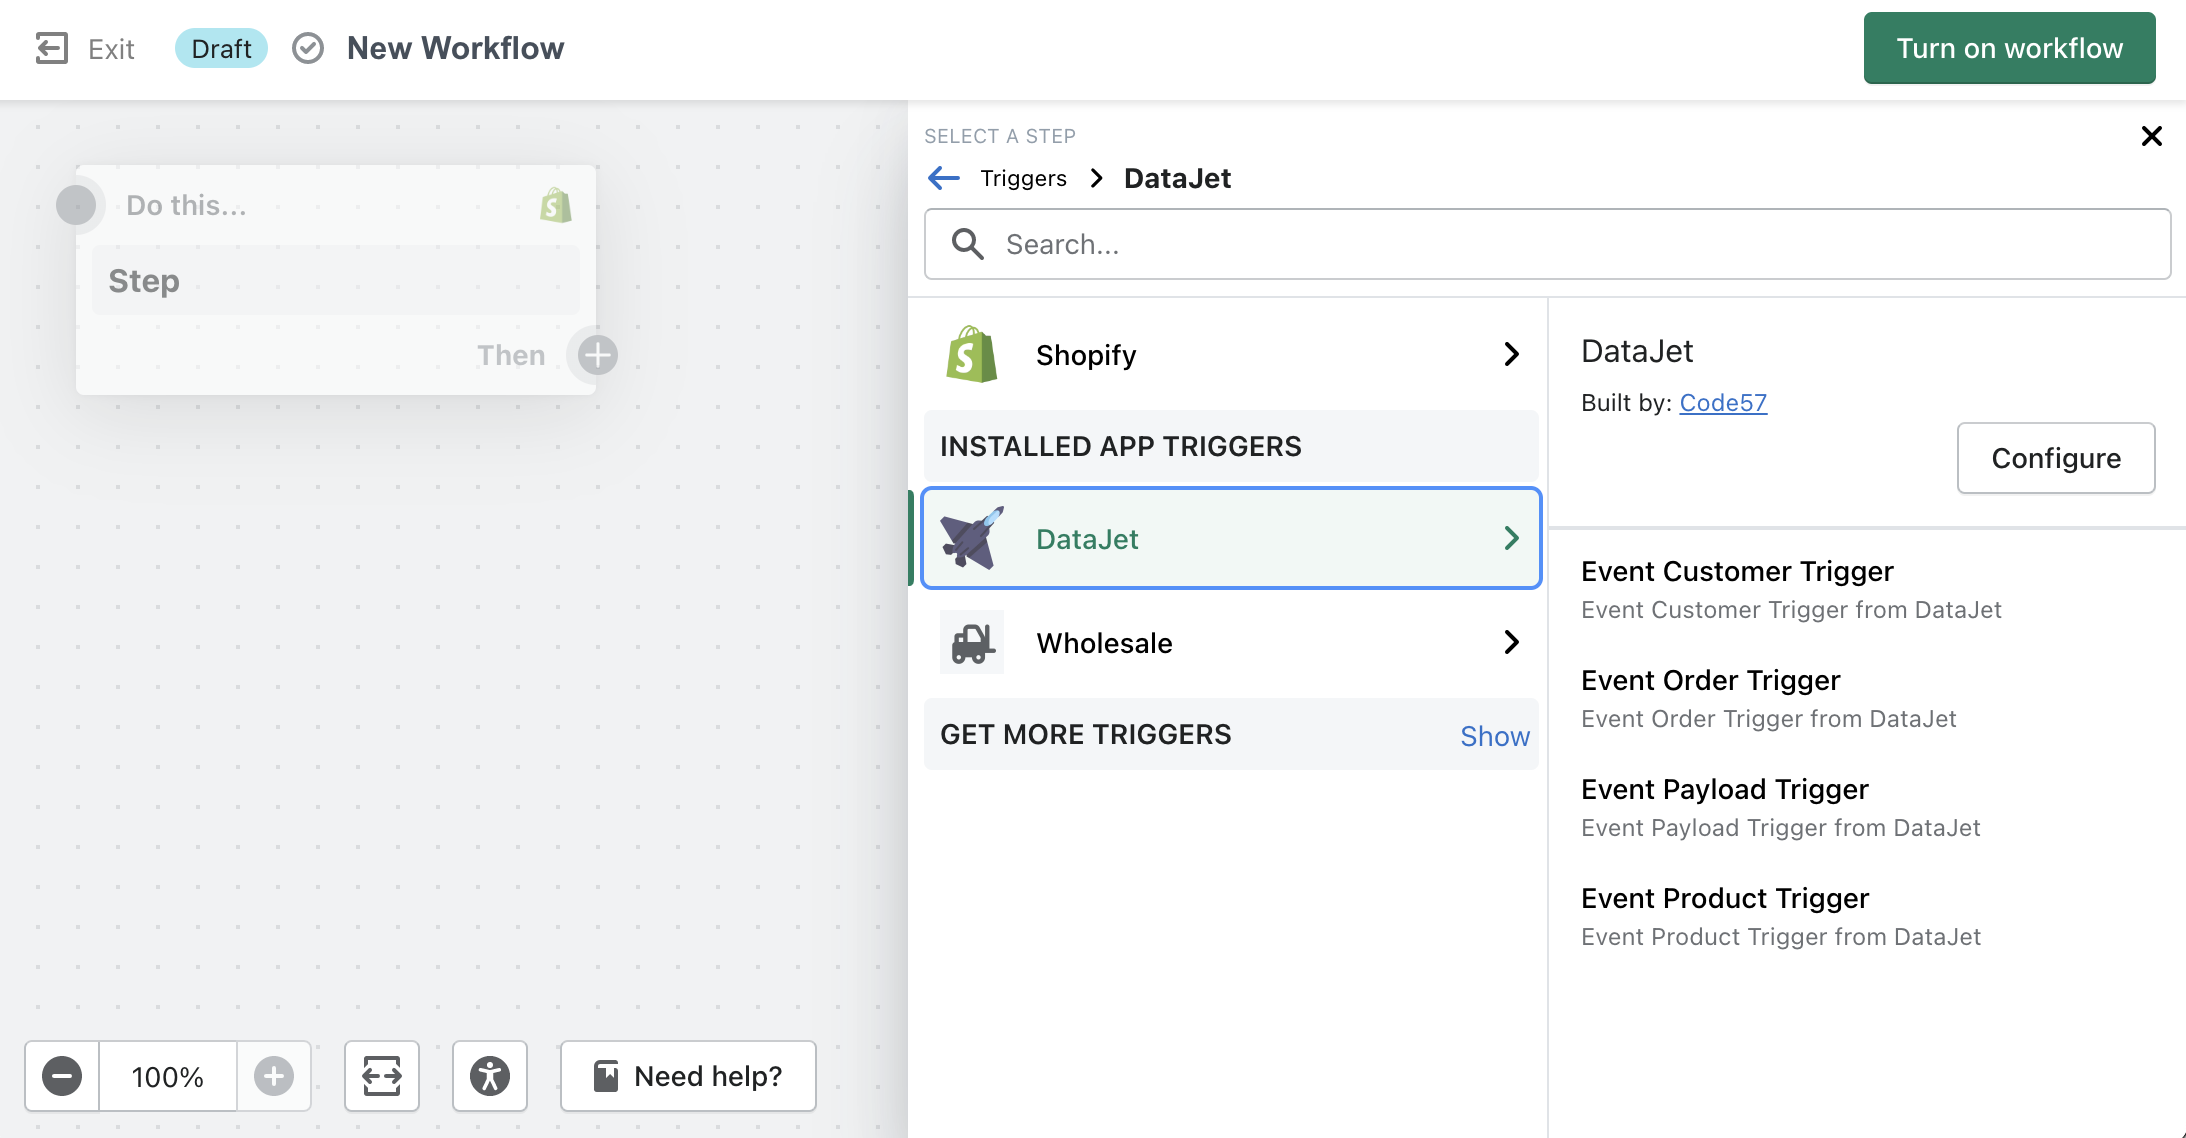
To send data to Shopify Flow first you would need to create Flow with DataJet trigger.
Next you can proceed with creating a DataJet task that would use flow filter to send data to your flow. Your task can be any of the following:
* Blank HTTP (useful when you want to process user submitted form from the frontend)
* Blank Scheduled (when you need to perform any repetitive actions in your store)
* Blank Input (when task is triggered by uploading CSV file to process)
* Blank Event (triggered by any of the shops webhooks)
For the purpose of this example we are going to hardcode payload with customer id property.
Task could look like this:
```
{% json payload %}
{"customer_id": 5287014039740}
{% endjson %}
{% assign result = payload | flow %}
```
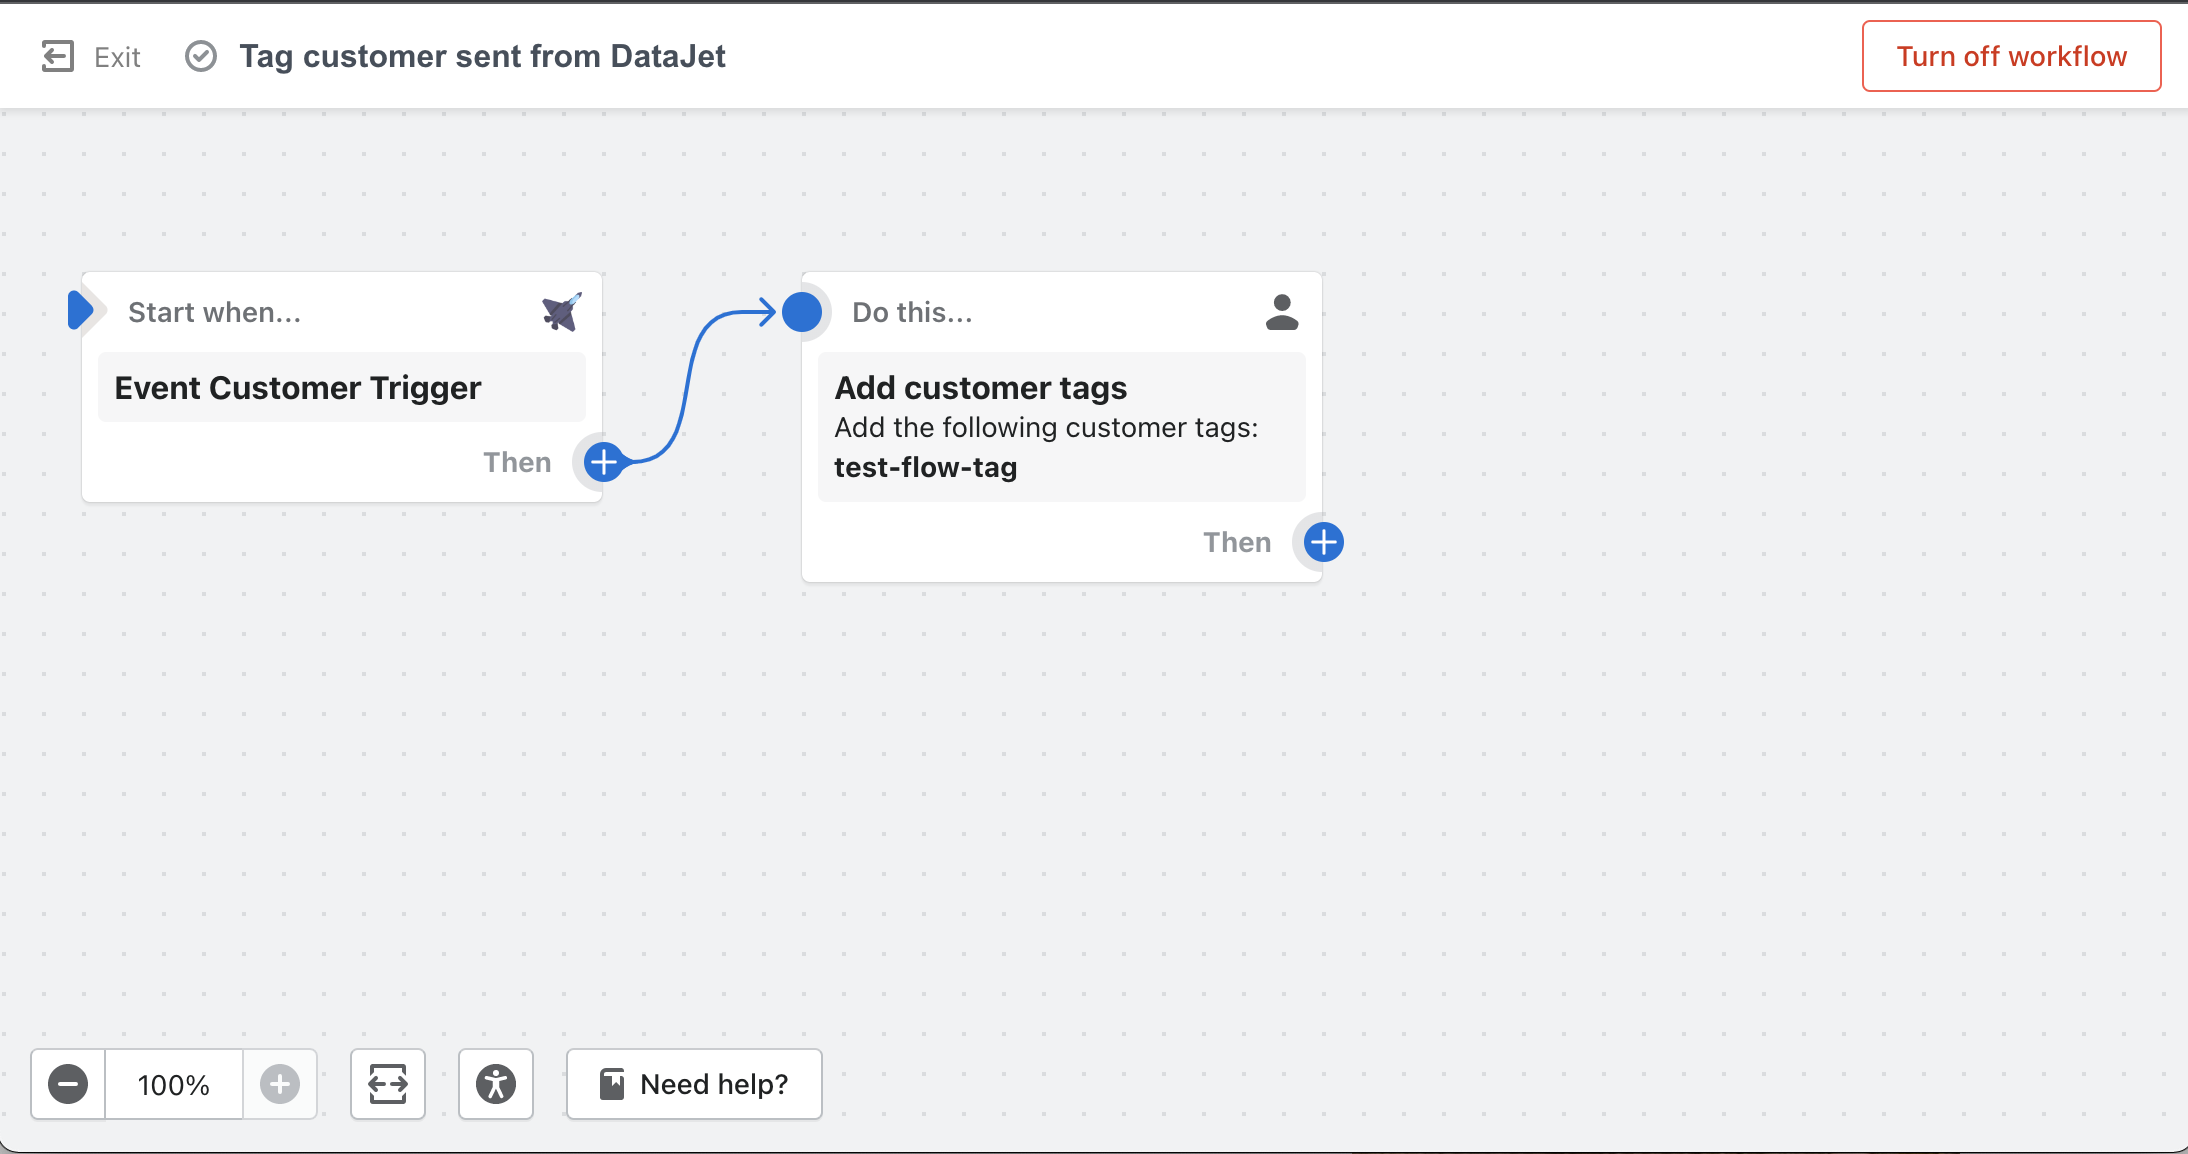
Now lets add add a tag through flow to that customer. This is how our flow would look like:
When our task code is executed - customer with provided ID would be tagged with: `test-flow-tag`
### Receiving data from flow
#### Action Trigger
{% hint style="info" %}
Action Trigger is deprecated. Use Action Trigger V2 instead.
{% endhint %}
DataJet task can also be triggered by configured flow.
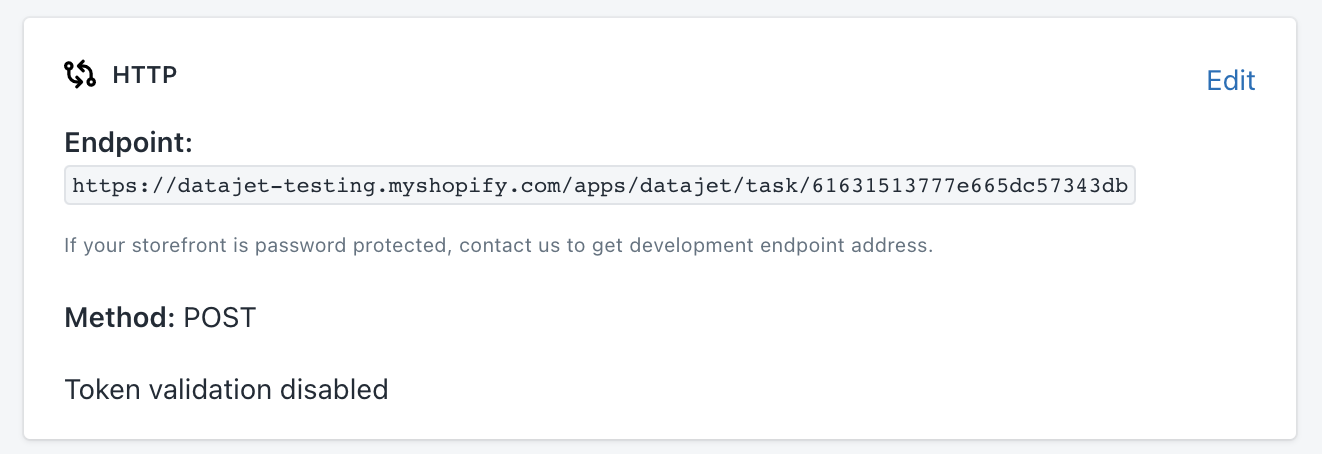
In such case first we need to create Blank HTTP task. This task has task id attached as last part of url.
In our case task id is: `61631513777e665dc57343db`
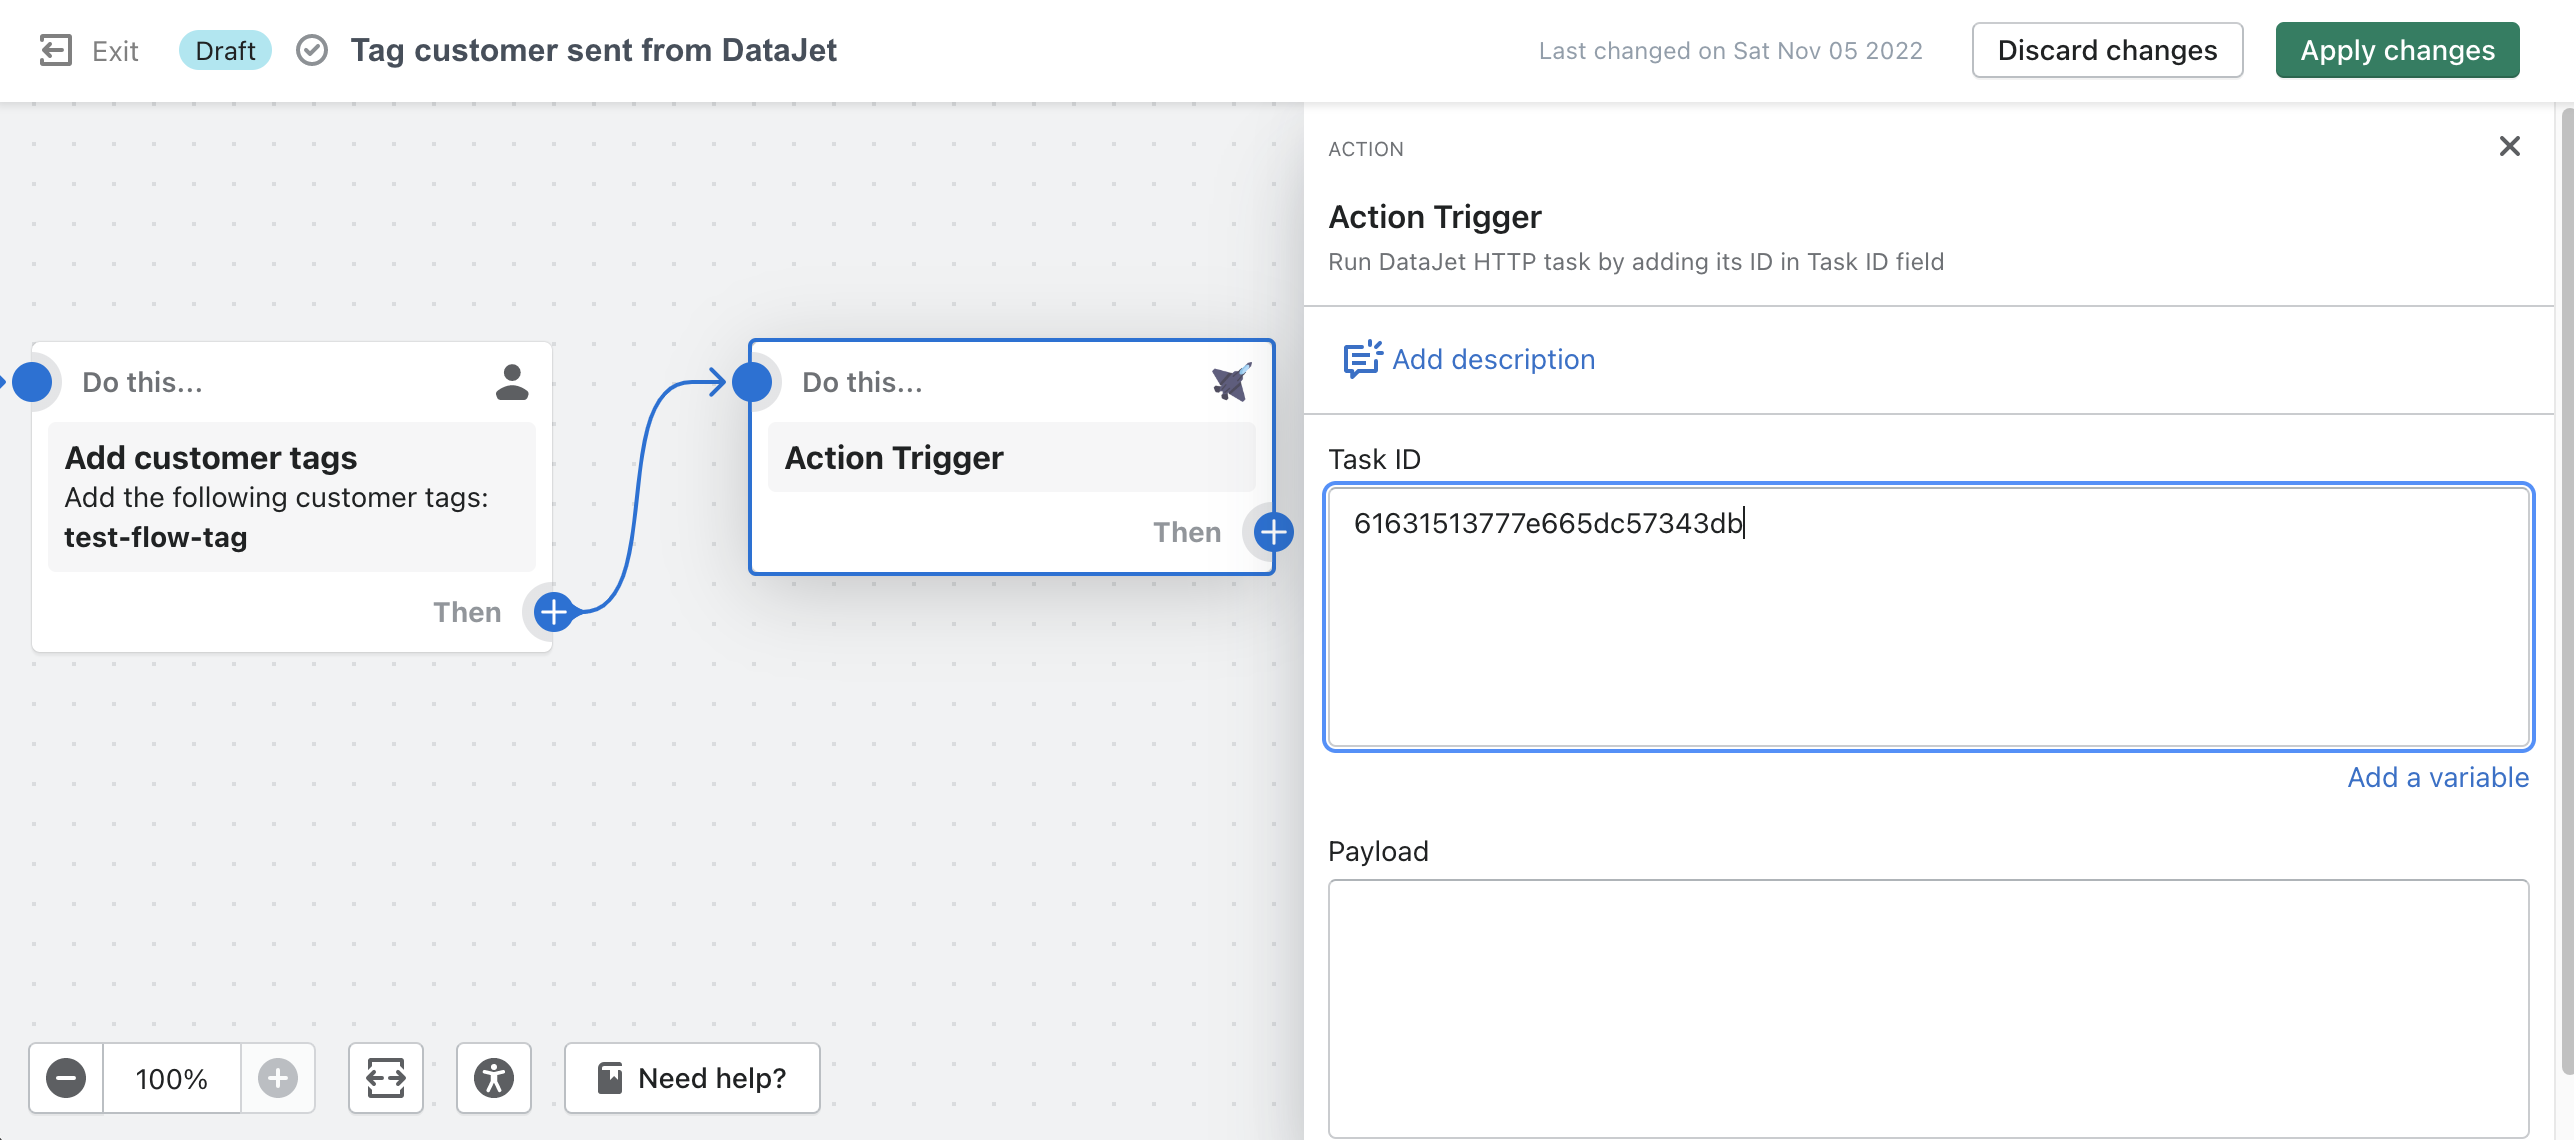
Now we can create trigger in Shopify Flow. For that we are going to use flow we configured in previous example:
In Task ID field we need to provide DataJet task id. The complete flow would work as following:
* First DataJet triggers Flow with customer id as payload
* Flow adds customer tag
* Flow triggers DataJet task
* DataJet processes HTTP task
Here is sample code for the Blank HTTP task. This code only logs incoming Flow request to console. However we could for example further modify customer here by adding another tags.
```
{{request.body | log }}
{% json response %}
{
"body": {
"status": "ok"
},
"status": 200
}
{% endjson %}
```
`request` is global object in all HTTP tasks. It contains incoming request data.